Best RV Carbon Monoxide Detectors
Tested for Real-World RV Use
CO poisoning kills RVers every year — usually while they’re asleep, usually with a detector in the rig that was either in the wrong spot or years past its sensor life. This guide cuts through the marketing and tells you exactly what to buy and where to put it.
Why Most RVers Are Under-Protected Right Now
I’ve been full-timing in a Class C for six years, and the single question I get most from newer RVers is: “Do I really need a CO detector if I already have a smoke alarm?” Yes — and it’s not even close. Carbon monoxide is colorless, odorless, and can build to dangerous concentrations inside a sealed rig within minutes if a generator is poorly vented, a propane furnace misfires, or a neighboring camper’s exhaust drifts into your vents while you sleep. Your smoke alarm won’t catch any of that.
What makes RV CO safety genuinely different from a home setup is the combination of factors: a tiny, often poorly ventilated space, propane appliances that share your living quarters, and the common practice of running generators overnight. The placement of your detector matters more than almost any other factor — the wrong location can delay a life-saving alarm by critical minutes. I’ve seen rigs with $80 detectors installed in positions that basically guaranteed they’d never alarm in time.
Below, I’ve chosen three detectors that each solve a distinct piece of this problem — whole-rig protection near appliances, dedicated sleeping-area monitoring, and hardwired 12V dual-gas (CO + propane) detection for those who want a permanent, battery-free solution. Every pick includes real placement guidance based on how RVers actually live and camp. If you want to browse the full range of RV safety accessories, we’ve got a broader guide for that too.
How We Choose These Detectors
Every product on this list was evaluated against criteria that matter specifically in an RV context — not a house, not an apartment. I cross-referenced Consumer Reports independent sensor testing, checked manufacturer specs against actual RV power systems (12V DC and standard 110V AC), and specifically looked for units that either earned a Consumer Reports recommendation or used an electrochemical sensor (the more accurate and longer-lasting technology). I also eliminated any detector whose sensor life was unclear or couldn’t be verified on the unit itself.
Sensor Type
Electrochemical sensors outperform metal oxide at low CO concentrations.
RV Power Compatibility
Must work on 12V DC, AC, or battery without shore power dependency.
Placement Flexibility
Tight RV layouts need detectors that can go where the risk actually is.
Alarm Response Speed
Tested or documented response time at 100 ppm and lower thresholds.
Top RV CO Detectors for 2026
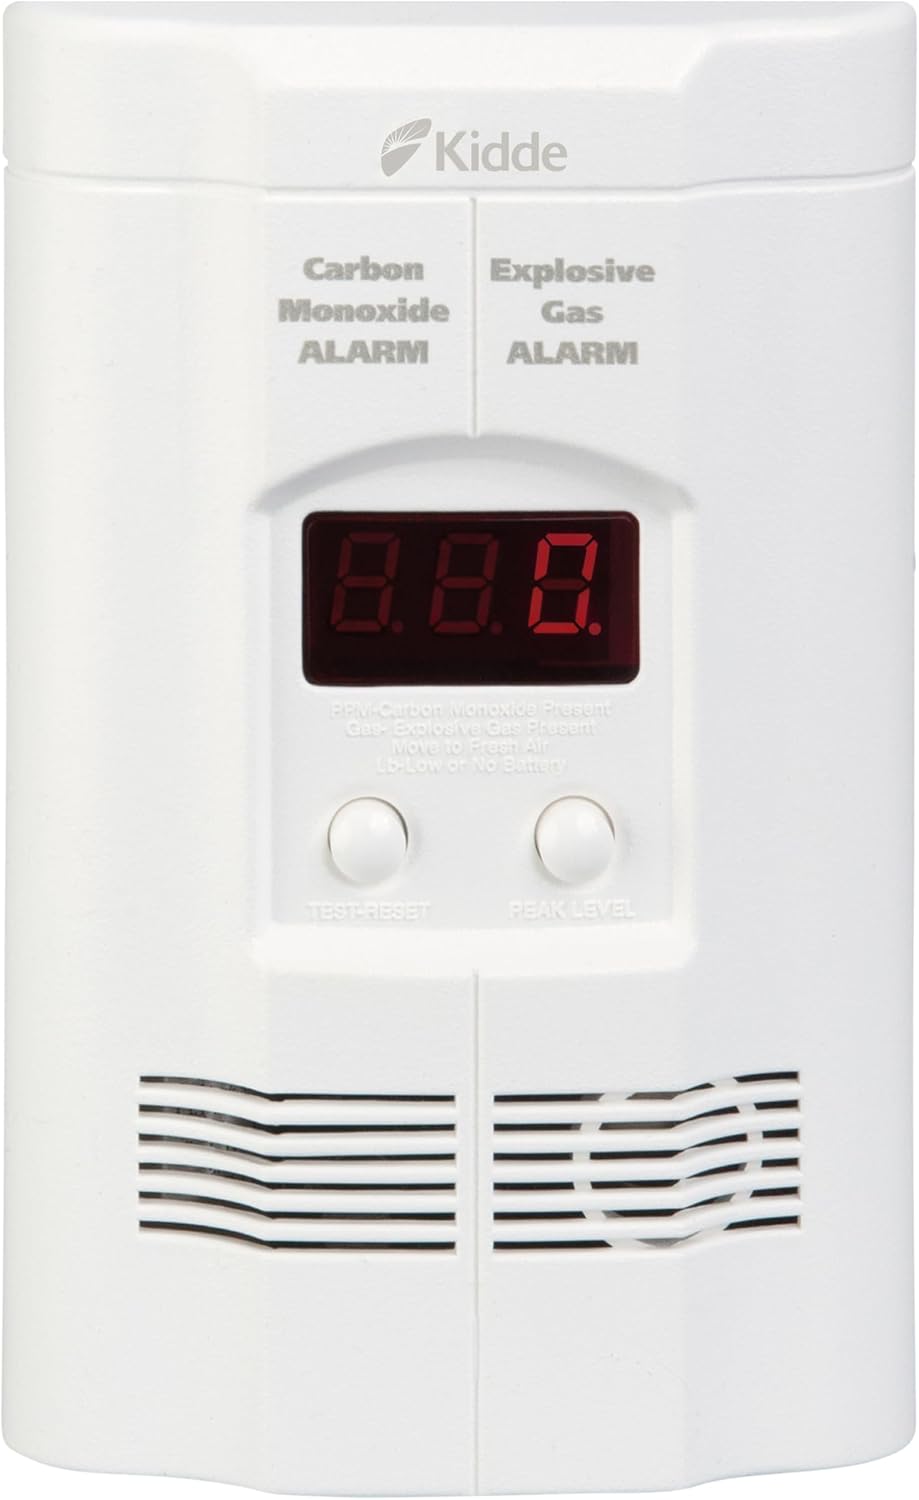
Kidde Carbon Monoxide + Explosive Gas Alarm
Best for: Full-rig protection near appliances and AC outlets
The Problem With Appliance Zones
Your propane stove, water heater, and furnace are all potential CO sources — and in an RV, they’re not in a basement or utility closet. They’re three feet from where you eat and six feet from where you sleep. If a burner runs oxygen-deficient or a connection develops even a small leak, CO concentrations can build fast in an enclosed rig before you notice anything wrong.
Why This Unit Earns the Top Spot
The Kidde COPDLG does something most plug-in detectors don’t: it shows you real-time CO concentration in parts per million on a backlit digital display, refreshed every 15 seconds. That matters. You don’t want to wait for an alarm at 70 ppm — you want to see CO creeping from 5 to 15 to 30 ppm while you still have time to open a window. The rotating plug solves a real RV frustration: outlet orientation in RV cabinetry is often sideways or inverted, and standard plugs leave the detector dangling at an angle. This one locks correctly regardless of panel position. Battery backup means a shore power outage doesn’t leave you unprotected.
Install near your galley/kitchen area at counter height (roughly 2–5 ft from floor). CO from cooking or a malfunctioning stove concentrates here first. Keep at least 5 feet from the burners themselves — too close and cooking fumes will trigger false alarms.
- Detects CO, propane, methane, and other explosive gases
- 85 dB alarm with LED status indicators
- Digital display refreshes every 15 seconds
- Rotating plug fits any outlet orientation
- 9V battery backup for power outages
- Plug-in, no wiring required
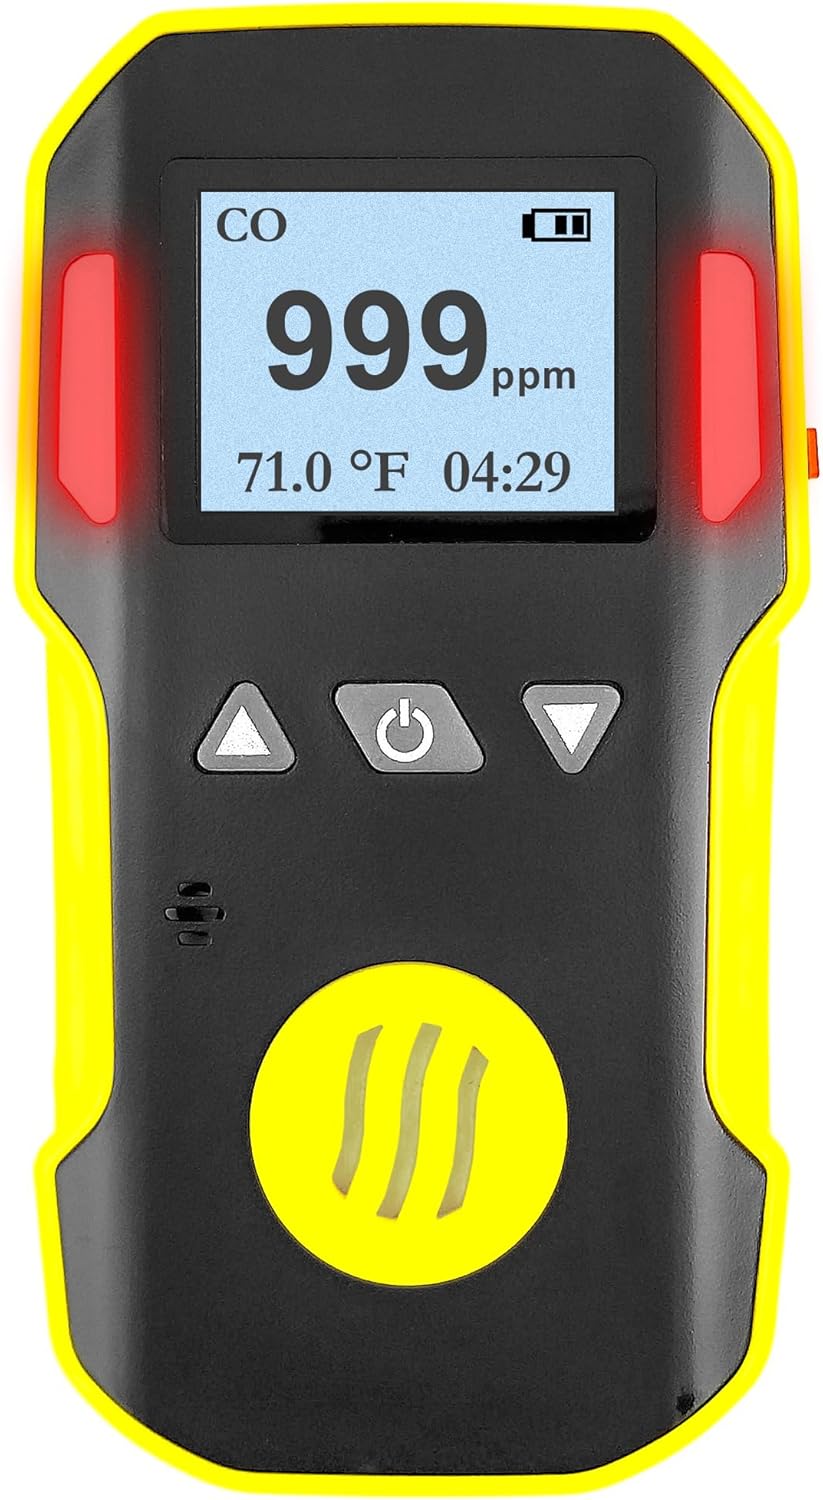
Forensics Detectors Portable CO Detector
Best for: Bedside monitoring and overnight generator exposure
The Generator Sleep Risk Nobody Talks About
Running a generator overnight for AC or climate control is one of the most common RV habits — and one of the most dangerous if your ventilation isn’t perfect. It doesn’t even have to be your rig’s generator. I’ve been at crowded campgrounds where a neighbor’s generator exhaust was drifting directly toward my bedroom window. A detector mounted over the galley sink isn’t going to help you there. You need something at breathing height, right next to where you’re sleeping.
Electrochemical Sensor, Consumer Reports Recommended
Most budget detectors use a metal oxide sensor — cheaper to manufacture, but significantly slower to respond at low CO concentrations. The Forensics unit uses an electrochemical sensor, the same technology used in professional-grade industrial monitors. Consumer Reports rated it among their top portable CO detectors in 2026 for accuracy across multiple tested concentration levels and speed of alarm response. Battery-powered means you can clip it to a bed frame, put it on a nightstand, or toss it in your gear bag when you’re not in the rig. No outlet hunting required.
Set it on your nightstand or clip it to the bed frame at breathing height. CO is close to the same density as air, so it distributes evenly throughout a space — proximity to where you’re breathing matters far more than floor vs. ceiling height.
- Electrochemical sensor — accurate at low CO levels
- Battery-powered, fully portable
- Compact for nightstand or gear bag
- Alarms within minutes at 100 ppm in testing
- Consumer Reports top-rated portable model (2026)
- No installation needed
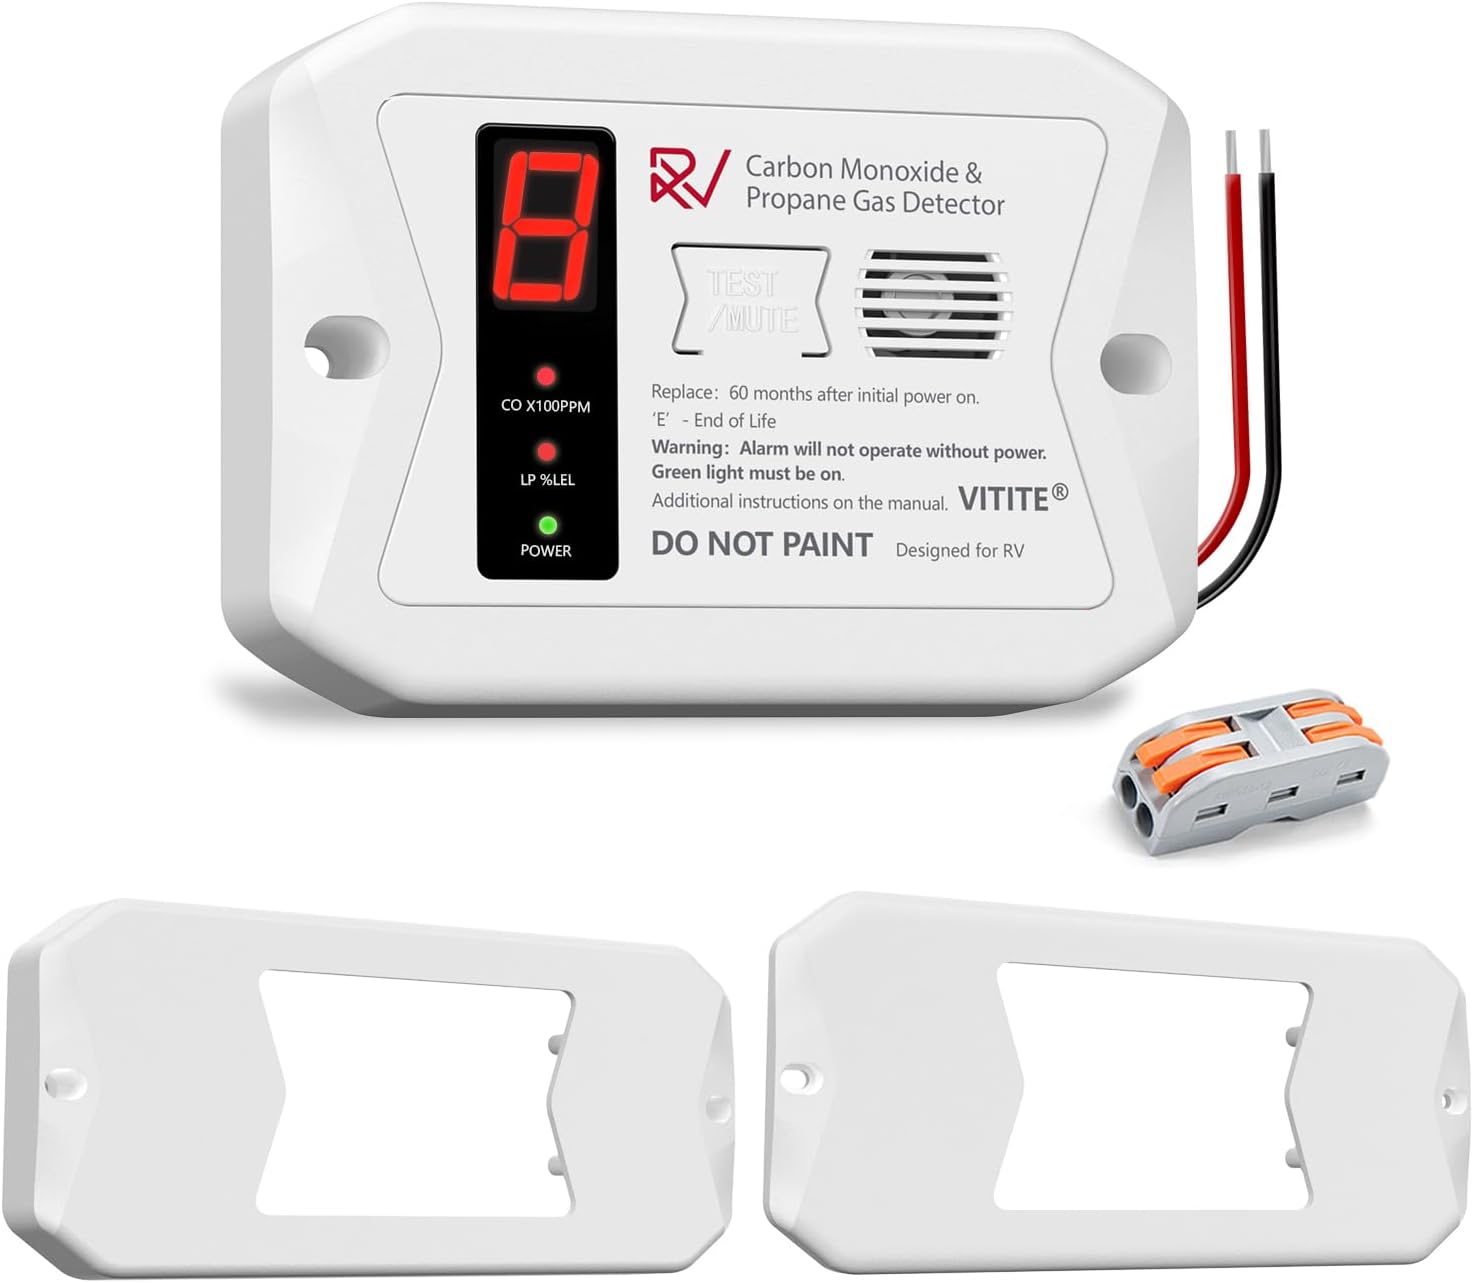
Vitite RV Carbon Monoxide & Propane Detector
Best for: Hardwired 12V installs and dual CO + propane coverage
Propane Is a Completely Different Threat — and It Sinks
This is the detail that trips up a lot of RVers: propane and CO behave differently in the air. CO is roughly the same density as air, so it distributes through a space fairly evenly. Propane is heavier than air — it sinks and pools at floor level, which means it can accumulate invisibly under your dinette or near floor vents while a CO-only detector mounted at counter height misses it entirely. If you’re dealing with propane appliances, you genuinely need detection at floor level. A single 2-in-1 unit handles this without running two separate devices.
Built for 12V, Designed to Replace Your OEM Unit
Most RVs come with an OEM CO/propane combo detector that’s often 7–10 years old by the time someone actually checks the manufacture date. The Vitite hardwires directly into your RV’s 12V DC system — no shore power dependency, no battery to die at 2 a.m. It’s designed to fit most standard RV detector mounting holes, so it drops in as a direct swap for aging factory units. Lever-nut connectors mean no splicing or tape. Response time runs 0.5–2 seconds from gas detection to alarm, and the 5-year warranty includes free repair or replacement.
Mount 4–20 inches above the floor near your propane appliances — stove, furnace, or refrigerator. The low placement catches propane pooling at floor level. Don’t install it directly behind a burner; airflow from cooking will trigger false alarms.
- Detects CO and propane in a single unit
- 12V DC hardwired — no batteries or shore power needed
- Fits most standard OEM RV detector mounting holes
- 0.5–2 second response time
- 5-year warranty with free repair/replacement
- Real-time concentration display
Where to Place CO Detectors in Your RV
Placement is the most overlooked factor in RV CO safety — and the most common mistake I see in rigs that have been set up for years. This walkthrough covers exactly where detectors should go for sleeping areas, appliance zones, and generator exposure scenarios.

A practical guide to RV carbon monoxide detector placement and setup.