💡 Key Recommendation
Inspect your RV water heater anode rod every 6 months and replace when 75% consumed
Why This Matters
RV anode rods serve as sacrificial protectors that literally dissolve themselves to save your water heater tank from corrosive damage. Without a functioning anode rod, the metal tank walls become the primary target for electrolytic corrosion, leading to pinhole leaks, rust buildup, and eventual tank failure that can cost $800-1,500 to replace. The corrosive process accelerates rapidly in RV environments due to constant movement, temperature fluctuations, and varying water quality from different sources.
Regular anode rod inspection and replacement represents one of the most cost-effective maintenance practices in RV ownership, typically costing $15-30 annually while preventing thousands in water heater replacement costs. A deteriorated anode rod that’s reduced to less than 75% of its original diameter or length can no longer provide adequate protection, allowing corrosion to attack your water heater’s steel tank directly. This maintenance task becomes even more critical for full-time RVers or those frequently traveling through areas with hard water, high mineral content, or aggressive water chemistry that accelerates anode rod consumption.
📋 Industry Standards & Best Practices
The RV Industry Association (RVIA) and water heater manufacturers like Suburban and Atwood recommend inspecting anode rods every 3-4 months during active use periods and replacing them when they’ve deteriorated to 75% of their original size. Most RV water heater warranties require documented anode rod maintenance to remain valid, with manufacturers specifying that neglecting this component voids coverage for tank corrosion damage. Industry standards also dictate using the correct anode rod material for your water heater model – typically magnesium for standard applications or aluminum for areas with soft water or high chloride content.
🎯 Product Recommendations
Inspect your RV anode rod every 3-4 months during camping season, or every 2 months if you’re a full-time RVer using the water heater daily
Replace the anode rod when it has corroded to 75% or less of its original diameter, shows heavy calcium buildup, or has deteriorated to less than 6 inches in length
Always use the manufacturer-specified anode rod type and size for your particular water heater model, as incorrect rods can actually accelerate corrosion rather than prevent it
Complete Guide
Most RVers never think about their anode rod until their water heater fails prematurely. The rod works through an electrochemical process called galvanic corrosion, where the more reactive anode metal corrodes instead of the tank. As the rod deteriorates, it releases ions that neutralize corrosive elements, effectively extending your tank’s lifespan from 3-5 years to potentially 10-15 years with proper maintenance.
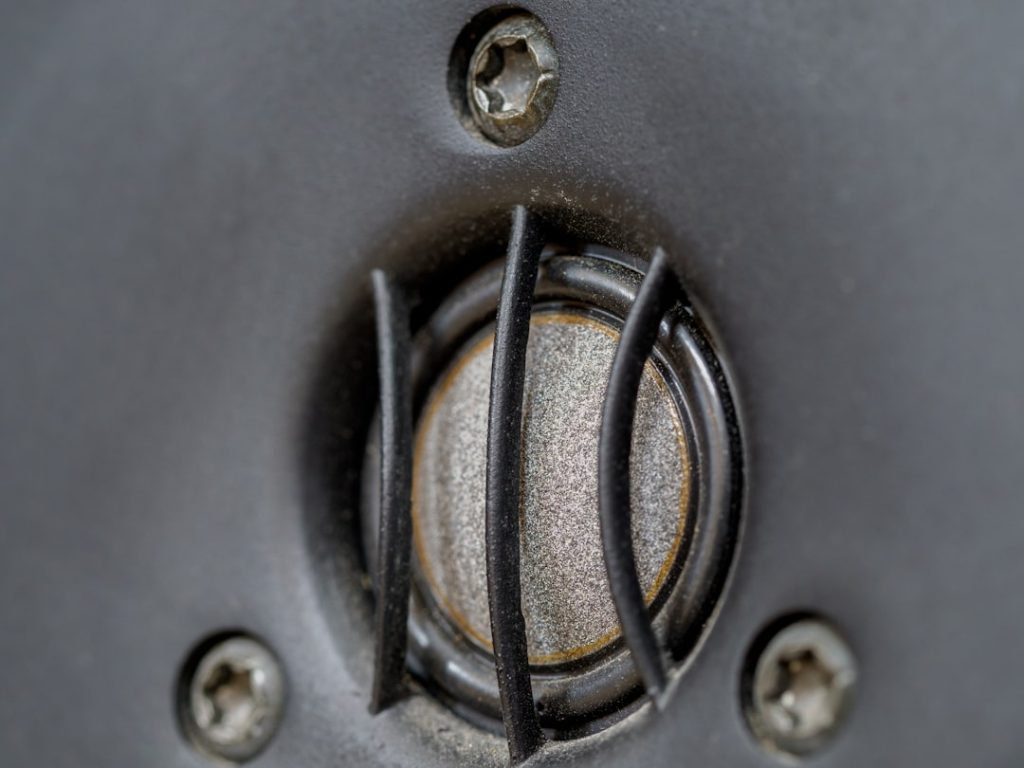
Locate your anode rod by finding the 1-1/16 inch hex head plug on your water heater tank’s exterior. Before removal, ensure the water heater is off and cooled completely, and turn off your water pump. Drain a few gallons from the tank to prevent spillage. Use a deep socket wrench or specialized anode rod tool to remove the rod by turning counterclockwise.
Inspect the removed rod carefully. A healthy anode rod should be relatively solid with some surface corrosion. Replace it immediately if more than 75% of the original material has dissolved, if the steel core wire is visible for more than six inches, or if the rod has completely disintegrated. Don’t wait until annual maintenance – check every six months in areas with hard water or heavy use.
When selecting a replacement, magnesium anodes work best for most RV applications, while aluminum anodes are better for areas with very hard water or high pH levels. Never operate your water heater without an anode rod, as even a few weeks without protection can cause significant tank damage.
Installation requires applying pipe thread sealant (not Teflon tape) to the threads before threading the new rod clockwise into the tank. Tighten snugly but don’t over-torque, as this can crack the tank. Some RVers install a combination anode rod with a drain plug for easier maintenance access.
Water quality significantly affects anode rod life. Soft water areas may see rods last 2-3 years, while hard water can consume them in 6-12 months. If you frequently use campground water with high mineral content, consider more frequent inspections. Installing a water softener or using filtered water can extend anode rod life.
Keep a spare anode rod in your RV toolkit, as finding the correct size rod at rural RV stores can be challenging. Document replacement dates and take photos of rod condition to track deterioration patterns specific to your travel areas and water sources.
Step-by-Step Instructions
Step 1
Turn off water heater power and gas, allow tank to cool completely, then drain all water from the system using the drain plug and pressure relief valve
Step 2
Locate the anode rod access point (usually a 1-1/16 inch hex head plug on top of tank exterior) and use appropriate socket wrench to remove the rod, applying penetrating oil if threads are seized
Step 3
Examine the removed rod for deterioration – measure diameter and length compared to new rod specifications, checking for heavy corrosion, calcium deposits, or wire core exposure
Step 4
Install new anode rod with pipe thread sealant on threads, tighten to manufacturer specifications (typically 25-30 ft-lbs), refill tank completely, and test for leaks before restoring power
💰 Cost Analysis
Initial investment: $15-30 for replacement anode rod plus $25-40 for basic tools (socket wrench, pipe thread sealant) if not already owned
Annual maintenance: $20-40 annually for replacement rods depending on usage patterns and water quality conditions
5 year projection: $100-200 total over five years including periodic rod replacements and occasional thread sealant
Cost per year: $20-40 per year average, dramatically less expensive than $800-1,500 water heater replacement costs
🌍 Regional Considerations
Hard water areas in the Southwest and Midwest accelerate anode rod deterioration, requiring replacement every 3-4 months instead of the standard 6-12 month intervals
Coastal regions with high chloride content in municipal water supplies may require switching from standard magnesium to aluminum anode rods for better corrosion protection
Northern climates where RVs are winterized for extended periods allow longer anode rod service life since the corrosion process essentially stops when tanks are drained and unused
🌍 Case Studies
A full-time RVer in Arizona discovered their 8-month-old magnesium anode rod had corroded down to just the steel wire core due to extremely hard well water, requiring immediate replacement to prevent tank damage
An RV owner who neglected anode rod replacement for two years found their 6-gallon water heater tank had developed multiple pinhole leaks, necessitating a complete $1,200 replacement that could have been prevented with $30 in maintenance
A seasonal RVer in Florida switched to aluminum anode rods after standard magnesium rods were lasting only 2-3 months in the high-chloride municipal water, extending service life to 6+ months
🔍 Common Misconceptions
Myth: ‘If my water looks clean, the anode rod must be fine’ – Truth: Anode rods can be severely deteriorated while still producing clear water, as corrosion products often settle or get flushed through the system
False belief: ‘Aluminum anode rods are always better than magnesium’ – Reality: Magnesium rods provide superior protection in most water conditions, while aluminum rods are only recommended for specific high-chloride or soft water situations
Misconception: ‘I can skip anode rod replacement if I use a water softener’ – Explanation: Softened water can actually be more corrosive to metal tanks and may accelerate anode rod consumption, making regular replacement even more critical
📊 Comparison Analysis
🔧 Tools & Equipment
1-1/16 inch socket wrench or box-end wrench to remove and install hex-head anode rod plug
Pipe thread sealant compound or Teflon tape rated for potable water systems to prevent leaks on reinstallation
⏱️ Time & Cost Summary
Estimated Time: 30-45 minutes for inspection and replacement, including tank draining and refilling time, with additional 2-3 hours for complete cooling if water heater was recently used
Estimated Cost: $15-30 for replacement anode rod, $3-5 for thread sealant, totaling $18-35 for complete maintenance versus $800-1,500 for premature water heater replacement
📅 Maintenance Schedule
⚠️ Safety Considerations
FAQ
What is an RV anode rod and how does it prevent water heater corrosion?
How often should I check and replace my RV anode rod?
What tools do I need to check and replace my RV anode rod?
Where is the anode rod located on my RV water heater?
How do I know when my RV anode rod needs to be replaced?
What are the steps to replace an RV anode rod?
Should I choose a magnesium or aluminum anode rod for my RV?
Why is my RV anode rod difficult to remove?
Can I check my RV anode rod without draining the water heater?
What happens if I don’t replace my RV anode rod regularly?
How do I properly install a new RV anode rod?
What should I do if the RV anode rod threads are damaged?
How much does it cost to replace an RV anode rod?
Can I extend the life of my RV anode rod?
What are the signs that my RV water heater tank is corroding despite having an anode rod?
👨💼 Expert Insights
RV technicians report that 90% of premature water heater failures they see involve neglected or missing anode rods, making this the single most important water heater maintenance task
Professional RV service centers recommend photographing your anode rod condition during each inspection to track deterioration patterns and optimize replacement timing
Experienced full-time RVers suggest buying anode rods in bulk (3-4 at a time) to ensure you always have spares available and can take advantage of quantity pricing
📚 Related Topics
- RV water heater tank flushing and sediment removal procedures
- Water quality testing and filtration systems for RV water supplies
- Winterization procedures for RV water heater systems and anode rod protection