💡 Key Recommendation
Clean your RV fridge burner tube annually to maintain proper propane combustion
Why This Matters
The propane burner tube in your RV refrigerator is the heart of the absorption cooling system, and when it becomes clogged or dirty, your refrigerator’s performance suffers dramatically. A blocked burner tube prevents proper combustion of propane gas, leading to weak or uneven flames that cannot generate sufficient heat to drive the ammonia absorption process. This results in poor cooling, increased propane consumption, and potential food spoilage during your travels.
Regular cleaning of the burner tube ensures optimal propane flow and complete combustion, which translates directly to consistent refrigerator temperatures and efficient fuel usage. A clean burner tube produces a steady blue flame that heats the boiler assembly evenly, allowing the refrigeration cycle to operate at peak efficiency. Neglecting this simple maintenance task can lead to costly repairs, wasted propane, and the inconvenience of a malfunctioning refrigerator in remote camping locations.
📋 Industry Standards & Best Practices
The Recreation Vehicle Industry Association (RVIA) and major RV refrigerator manufacturers like Dometic and Norcold recommend inspecting and cleaning the propane burner tube at least twice per year or every 6 months of use. The National Fire Protection Association (NFPA) 1192 standard for recreational vehicles emphasizes the importance of maintaining clean combustion components for safe propane operation. Most manufacturer warranties require documented maintenance of the burner assembly, including tube cleaning, to remain valid, with cleaning intervals typically specified at 3,000-5,000 miles of travel or seasonal maintenance schedules.
🎯 Product Recommendations
Clean the burner tube every 6 months or 3,000 miles of travel, whichever comes first, using a soft brush and compressed air to remove spider webs, debris, and carbon buildup
Inspect the burner tube orifice for proper hole alignment and size, ensuring no enlargement from corrosion or blockage from insects, as even small obstructions can reduce propane efficiency by 30-50%
Use only manufacturer-approved cleaning tools such as thin wire brushes or compressed air, avoiding harsh chemicals or oversized cleaning implements that could damage the precision-engineered tube dimensions
Complete Guide
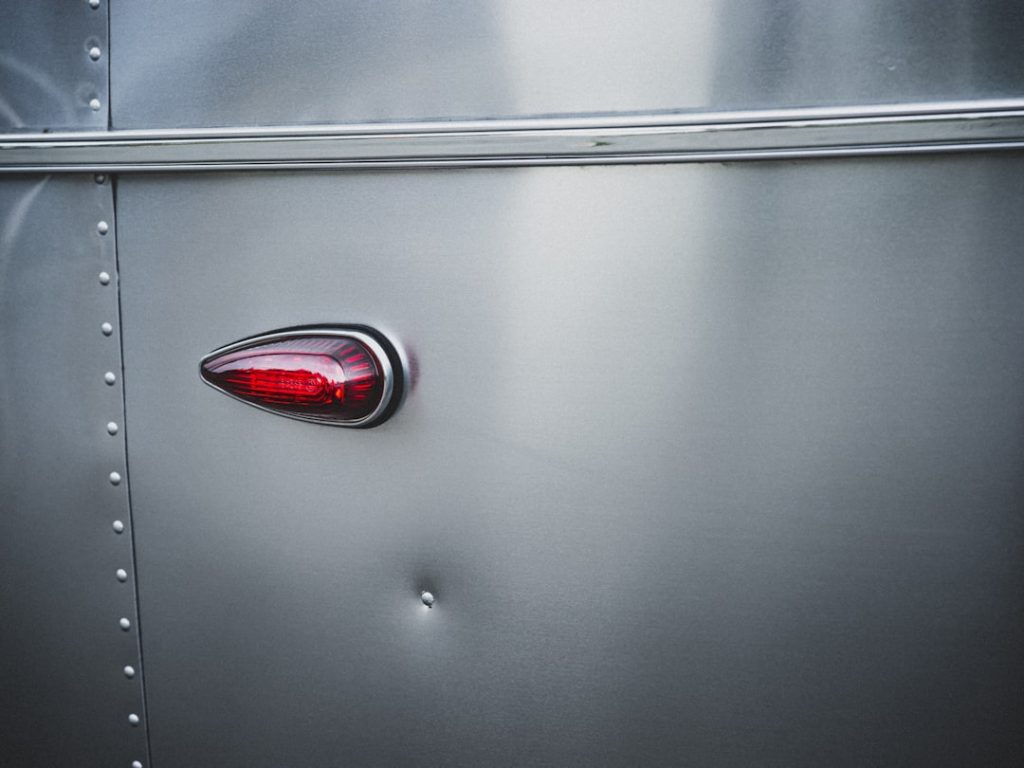
The burner tube, located behind the lower access panel on the exterior of your RV, contains a small orifice where propane mixes with air to create the flame that powers your refrigerator’s cooling system. When this tube becomes obstructed, the propane-to-air ratio becomes imbalanced, resulting in an improper flame that can’t adequately heat the absorption cooling system.
Signs that your burner tube needs cleaning include the refrigerator taking longer to cool down, inconsistent temperatures, a yellow or irregular flame instead of a steady blue one, or the refrigerator failing to operate on propane while working fine on electric. You might also notice soot buildup around the burner area or smell propane near the refrigerator compartment.
To clean the burner tube, first ensure your RV is level and turn off the propane supply at the tank. Allow the refrigerator to cool completely if it’s been running. Remove the lower access panel on the exterior of your RV to expose the burner assembly. You’ll see a metal tube with a small orifice at the end.
Using a flashlight, inspect the tube for visible obstructions like spider webs or debris. Spiders are particularly attracted to the propane smell and frequently build webs in this area. Carefully remove any visible debris with needle-nose pliers or tweezers. For the burner orifice itself, use a piece of thin wire or a specialized burner cleaning tool – never use a toothpick or wooden object that could break off inside.
Next, use compressed air to blow out the tube from both ends if possible. Work the air in short bursts rather than continuous flow to avoid pushing debris deeper into the system. A small mirror can help you see into hard-to-reach areas and confirm the tube is clear.
For stubborn carbon deposits, use a small wire brush designed for appliance cleaning. Be gentle to avoid damaging the tube or disturbing the burner alignment. Some RVers find that a pipe cleaner works well for this application.
After cleaning, reassemble everything and test the refrigerator on propane mode. The flame should be steady and blue, not yellow or flickering. If problems persist, the issue might be with the thermocouple or gas pressure regulator, requiring professional service.
Perform this cleaning annually, or more frequently if you camp in dusty or bug-heavy environments. This simple maintenance task takes less than 30 minutes but can save you hundreds of dollars in repair costs and prevent the frustration of a failed refrigerator during your travels.
Step-by-Step Instructions
Step 1
Turn off the propane supply at the tank and disconnect power to the refrigerator, then remove the lower outside access panel to expose the burner assembly and locate the small metal burner tube
Step 2
Carefully remove the burner tube assembly by unscrewing the mounting bracket and disconnecting the gas line connection, taking photos for proper reassembly reference
Step 3
Clean the tube interior using compressed air blown from both directions, followed by a thin bottle brush or pipe cleaner to remove stubborn debris, spider webs, or carbon deposits
Step 4
Inspect the tube for cracks, corrosion, or enlarged orifice holes, then reassemble in reverse order, ensuring proper gas line connections and testing for leaks with soapy water before restoring propane flow
💰 Cost Analysis
Initial investment: $25-45 for basic cleaning tools including compressed air, bottle brushes, leak detection solution, and safety equipment for burner tube maintenance
Annual maintenance: $15-25 per year for replacement cleaning supplies, compressed air canisters, and leak detection materials for bi-annual burner tube cleaning
5 year projection: $75-125 total over five years for ongoing burner tube maintenance supplies, significantly less than the $400-800 cost of burner assembly replacement due to neglect
Cost per year: $15-25 annually for burner tube cleaning maintenance, compared to $80-150 yearly in wasted propane from inefficient combustion in dirty tubes
🌍 Regional Considerations
Desert and southwestern regions require more frequent burner tube cleaning due to increased spider activity and fine sand infiltration that can block the tube orifice within 2-3 months of use
Coastal areas with high humidity and salt air accelerate corrosion of burner tube components, requiring monthly inspections and the use of corrosion-preventive sprays after cleaning
Northern climates with frequent freeze-thaw cycles can cause condensation buildup in burner tubes during storage, necessitating thorough drying and cleaning before each camping season
🌍 How This Works in Practice
A full-time RVer in Arizona discovered their refrigerator wasn’t cooling properly and found black widow spider webs completely blocking their burner tube orifice, requiring careful cleaning with compressed air and a thin brush to restore proper propane flow
After experiencing weak yellow flames instead of strong blue ones, an RV owner cleaned carbon buildup from their burner tube and immediately noticed a 40% improvement in cooling performance and reduced propane consumption
A family camping in dusty conditions found their burner tube clogged with fine debris after just one month, demonstrating how environmental factors can accelerate the need for more frequent cleaning cycles
🔍 Common Misconceptions
Many RV owners believe that if the refrigerator runs on electric mode, the propane burner tube doesn’t need cleaning, but regular maintenance prevents corrosion and ensures the propane system works when needed off-grid
Some think that a weak flame means low propane pressure, when actually a dirty burner tube restricts gas flow and cleaning the tube often solves the problem without adjusting regulators or replacing tanks
There’s a false belief that professional service is required for burner tube cleaning, but this is a simple DIY maintenance task that most RV owners can safely perform with basic tools and proper precautions
📊 Comparison Analysis
🔧 Tools & Equipment
Compressed air canister or small air compressor for blowing out debris and spider webs from the burner tube interior
Thin bottle brush or pipe cleaners sized to fit the tube diameter, screwdriver set for removing access panels, and soapy water solution for leak testing after reassembly
⏱️ Time & Cost Summary
Estimated Time: Complete burner tube cleaning typically takes 45-90 minutes, including 15 minutes for setup and safety preparation, 30-45 minutes for removal and cleaning, and 15-30 minutes for reassembly and leak testing
Estimated Cost: $25-45 for initial tool purchase, then $8-15 per cleaning session for supplies like compressed air and cleaning materials, making it significantly cheaper than professional service
📅 Maintenance Schedule
⚠️ Safety Considerations
FAQ
How often should I clean my RV refrigerator burner tube for optimal propane performance?
What tools do I need to clean my RV refrigerator burner tube?
How do I know if my RV refrigerator burner tube needs cleaning?
Can I clean my RV refrigerator burner tube myself or do I need a professional?
What safety precautions should I take when cleaning my RV refrigerator burner tube?
What causes my RV refrigerator burner tube to get clogged or dirty?
How long does it take to clean an RV refrigerator burner tube properly?
What’s the step-by-step process to clean my RV refrigerator burner tube?
Will cleaning my RV refrigerator burner tube improve propane efficiency?
What should I avoid when cleaning my RV refrigerator burner tube?
How do I test if my RV refrigerator burner tube cleaning was successful?
Can a dirty RV refrigerator burner tube affect cooling performance?
What type of cleaning solution should I use on my RV refrigerator burner tube?
Is there a difference in cleaning burner tubes between different RV refrigerator brands?
What are the long-term benefits of regularly cleaning my RV refrigerator burner tube?
👨💼 Expert Insights
Certified RV technician: ‘Spider webs are the number one cause of burner tube blockage, especially in desert climates. A quick monthly visual check can prevent major cooling problems.’
Professional RV service manager: ‘Clean burner tubes produce steady blue flames 1-2 inches high. Yellow or irregular flames always indicate cleaning is needed for optimal propane performance.’
Experienced full-timer: ‘I clean my burner tube every oil change interval – about every 3 months – and haven’t had refrigerator problems in over 5 years of continuous travel.’
📚 Related Topics
- RV refrigerator propane flame adjustment and color diagnosis for optimal combustion efficiency
- Annual RV propane system inspection including burner assembly and gas line maintenance
- Troubleshooting RV refrigerator cooling problems related to burner performance and propane flow issues