💡 Key Recommendation
Check your RV inverter fan for dust buildup and bearing noise during monthly electrical inspections
Why This Matters
RV inverter cooling fans are small, inexpensive components that perform a critical safety function, operating continuously whenever your inverter converts 12V DC power to 120V AC power. These fans typically last 2-4 years depending on usage, but their failure often goes unnoticed until thermal shutdown occurs or permanent damage happens to expensive inverter components. When cooling fans fail, internal temperatures can exceed 180°F within minutes during heavy loads, triggering protective shutdowns that leave you without AC power for essential appliances like refrigerators, microwaves, and charging systems.
The cost difference between proactive fan replacement and reactive inverter repair is dramatic – replacement cooling fans cost $15-35 each, while inverter thermal damage can result in $400-1,200 repair bills or complete unit replacement. Most inverter manufacturers void warranties when thermal damage occurs due to cooling system neglect, making preventive fan replacement one of the most cost-effective maintenance tasks RV owners can perform. Since cooling fan failure is progressive rather than sudden, replacing fans every 3 years ensures continuous protection for your electrical investment.
📋 Industry Standards & Best Practices
The RV Industry Association recommends inspecting inverter cooling systems every 6 months and replacing cooling fans proactively every 3-4 years or 2,000 operating hours, whichever comes first. Most inverter manufacturers specify maximum internal operating temperatures of 140-160°F, with cooling fans designed to maintain temperatures below 120°F under normal loads. Industry best practice involves replacing all cooling fans simultaneously rather than individually, since fans installed at the same time typically fail within months of each other, and the labor cost of multiple service calls exceeds the minimal cost difference of replacing multiple fans at once.
🎯 Product Recommendations
Replace inverter cooling fans every 3 years or at the first sign of bearing noise, vibration, or reduced airflow, rather than waiting for complete failure that could damage expensive inverter components
Purchase OEM replacement fans or exact specification matches (same voltage, amperage, CFM rating, and mounting dimensions) since generic fans often have shorter lifespans and different airflow characteristics that can affect cooling performance
Test new cooling fans before installation using a 12V power source to verify proper rotation direction, smooth operation, and adequate airflow, as defective fans can cause immediate thermal problems
Complete Guide
Inverter cooling fans fail primarily from dust accumulation and bearing wear. Desert camping, dusty roads, and pet hair create the perfect storm for fan clogging. The fan bearings wear out from constant operation, especially in hot climates where your inverter runs air conditioning or other high-draw appliances. Most inverter manufacturers use generic 12V computer-style fans that aren’t designed for RV environments.
Recognize the warning signs early. Listen for grinding, clicking, or irregular whirring sounds from your inverter compartment. Check if your inverter feels unusually hot during normal operation – it should be warm but not burning hot. Look for error codes on your inverter display, particularly overtemperature warnings. If your inverter shuts down unexpectedly during moderate loads, fan failure might be the culprit.
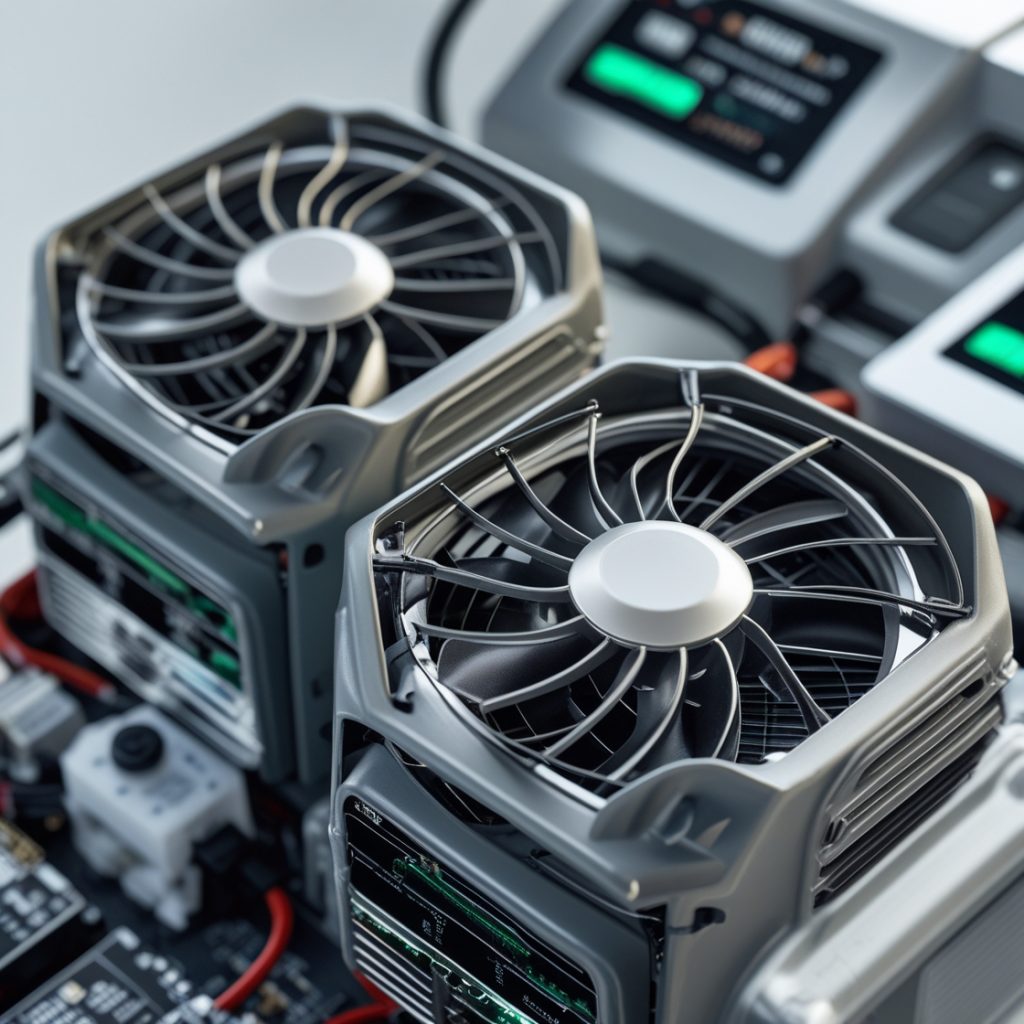
Replacing the fan requires basic electrical skills but saves enormous money. First, disconnect shore power and turn off your inverter completely. Remove the inverter cover panel – usually 4-6 screws. Locate the cooling fan, typically a 60mm, 80mm, or 120mm square fan connected by a small wire harness. Take a photo of the wire connections before disconnecting anything.
Measure your fan dimensions precisely and note the voltage rating – usually 12V DC. Order a high-quality ball bearing fan rated for at least 50,000 hours operation. Brands like Noctua, Sunon, or Delta offer superior longevity compared to cheap replacements. Expect to pay $25-40 for quality fans versus $8-12 for bargain versions that fail quickly.
During installation, clean all dust from the inverter interior using compressed air or a vacuum with brush attachment. Never use water or liquid cleaners inside electrical equipment. Connect the new fan using the same wire configuration as the original. Many fans include longer wires, so secure excess wire with zip ties to prevent interference with moving parts.
Test the installation before reassembly. Power up your inverter and verify the fan spins smoothly and quietly. Run a moderate load like a microwave or coffee maker to ensure normal operation and temperature management. Reinstall the cover panel securely.
Prevent future failures with regular maintenance. Inspect and clean your inverter fan every three months during heavy use periods. Keep your inverter compartment well-ventilated and consider adding external ventilation fans in extremely hot climates. Some RVers install dual fans for redundancy, though this requires electrical modifications.
Document your maintenance with photos and dates. Most inverter warranties void from overheating damage, making prevention crucial. A $35 fan replacement every 3-4 years beats a $1,200 inverter replacement every time.
Step-by-Step Instructions
Step 1
Turn off inverter power completely and disconnect from shore power and battery bank, then remove inverter access panels or mounting screws to expose internal cooling fans while noting their orientation and wire routing
Step 2
Photograph existing fan positions and wiring connections, then carefully disconnect fan power connectors and remove mounting screws, noting the airflow direction arrows on fan housings for proper replacement orientation
Step 3
Install new fans in identical positions with airflow directions matching original configuration, ensuring secure mounting and proper wire routing that won’t interfere with fan blades or other components
Step 4
Reconnect all fan power connectors firmly, reassemble inverter housing, restore power connections, and test inverter operation while listening for smooth, quiet fan operation and verifying normal operating temperatures
💰 Cost Analysis
Initial investment: $18-47 per fan for OEM replacements, with most RV inverters containing 1-3 fans, plus $23-38 for basic tools if not already owned
Annual maintenance: No annual costs required since fans are replaced every 3 years, though optional annual inspections take 15 minutes of time
5 year projection: $36-94 for two replacement cycles over 5 years (replacing fans in year 1 and year 4), plus one-time $23-38 tool cost = $59-132 total over 5 years
Cost per year: $12-26 per year averaged over 5 years, compared to $400-1,200 for inverter thermal damage repairs
🌍 Regional Considerations
Desert regions require more frequent fan replacement (every 2-3 years) due to dust accumulation and higher ambient temperatures that stress cooling fan bearings and reduce service life
Coastal areas with high humidity and salt air may experience faster fan corrosion, requiring marine-grade or sealed bearing fans for optimal longevity in these environments
Northern climates with extreme temperature cycling between hot summers and cold winters can cause thermal expansion stress on fan mounting points and electrical connections
🌍 Case Studies
A 2019 Class A motorhome owner replaced their 3000W inverter cooling fans proactively after 3 years for $42 total cost, avoiding the $850 repair bill their neighbor faced when thermal damage destroyed inverter power transistors after fan failure
Full-time RVers in Arizona discovered their inverter cooling fans had failed during summer travel when their refrigerator kept shutting off due to inverter thermal protection, requiring emergency roadside fan replacement at a mobile RV service for $180 labor plus parts
A travel trailer owner performing routine maintenance found one of two cooling fans making grinding noises and vibrating excessively, replacing both fans preventively for $34 rather than risking thermal damage to their modified sine wave inverter
🔍 Common Misconceptions
Many RVers believe inverter cooling fans will make obvious noise before failing, but modern fans often fail silently as bearings seize, stopping airflow without dramatic symptoms until thermal damage occurs
Some owners assume that inverter thermal shutdown protection eliminates the risk of damage from cooling fan failure, but repeated thermal cycling from inadequate cooling degrades internal components and shortens inverter lifespan significantly
RVers often think cooling fan replacement requires professional service due to electrical complexity, when actually most inverter fans use simple plug-in connectors and standard mounting screws accessible to DIY maintenance
📊 Comparison Analysis
🔧 Tools & Equipment
Phillips and flathead screwdrivers for removing inverter panels and fan mounting screws
Digital multimeter for testing fan power connections and verifying 12V supply voltage
Needle-nose pliers for disconnecting small fan power connectors in tight spaces
Flashlight or headlamp for illuminating inverter interior during fan replacement work
⏱️ Time & Cost Summary
Estimated Time: 45-90 minutes for complete cooling fan replacement, including 15 minutes for inverter disassembly, 20-30 minutes for fan removal and installation, and 10-25 minutes for reassembly and testing
Estimated Cost: $18-47 per replacement fan plus 45-90 minutes labor time, with most RV inverters requiring 1-3 cooling fans for complete replacement
📅 Maintenance Schedule
⚠️ Safety Considerations
FAQ
How often should I replace my RV inverter cooling fans to prevent overheating?
What are the warning signs that my RV inverter cooling fan is about to fail?
Can a failed inverter cooling fan really damage my RV’s electrical system?
How do I identify the correct replacement fan for my RV inverter?
What tools do I need to replace RV inverter cooling fans?
Is it safe to replace RV inverter cooling fans myself or should I hire a professional?
How much does it cost to replace RV inverter cooling fans?
Should I replace just the failed fan or all cooling fans in my RV inverter at once?
How do I properly test my RV inverter cooling fans before they fail?
What’s the step-by-step process for replacing RV inverter cooling fans?
Why do RV inverter cooling fans fail more frequently than other fans?
Can I upgrade to a better cooling fan when replacing my RV inverter fan?
How do I prevent premature failure of my replacement RV inverter cooling fans?
What temperature conditions indicate my RV inverter cooling fans aren’t working properly?
How long does it take to replace RV inverter cooling fans and what’s the difficulty level?
👨💼 Expert Insights
RV electrical technicians report that 80% of inverter thermal damage could be prevented with proactive cooling fan replacement every 3 years, making this the highest-return maintenance task for RV electrical systems
Professional RV service managers recommend replacing all cooling fans simultaneously rather than individually, since fans installed together typically fail within 6 months of each other due to similar operating hours
Experienced full-time RVers suggest carrying spare cooling fans as emergency replacements, since fan failure often occurs during peak usage periods when professional service may not be readily available
📚 Related Topics
- Inverter thermal management and ventilation requirements for RV installations
- Signs of inverter thermal damage and diagnostic procedures for overheating issues
- Preventive maintenance schedules for RV electrical system components including inverters