💡 Key Recommendation
Place digital hygrometers in 2-3 hidden RV zones to detect moisture before mold develops
Why This Matters
Hidden moisture is one of the most common causes of long-term RV damage. Areas like ceiling voids and cabinets can trap humid air, creating conditions where mold can develop without being noticed.
Because these spaces are enclosed, humidity levels can rise higher than in the main living area. Without targeted monitoring, problems often go undetected until odors, stains, or damage appear. Early detection is the simplest way to prevent expensive repairs and maintain healthy air quality.
📋 Best Practices
Keeping humidity under control is key to preventing mold. Most experts recommend maintaining indoor humidity below 50-60%, especially in enclosed or poorly ventilated spaces.
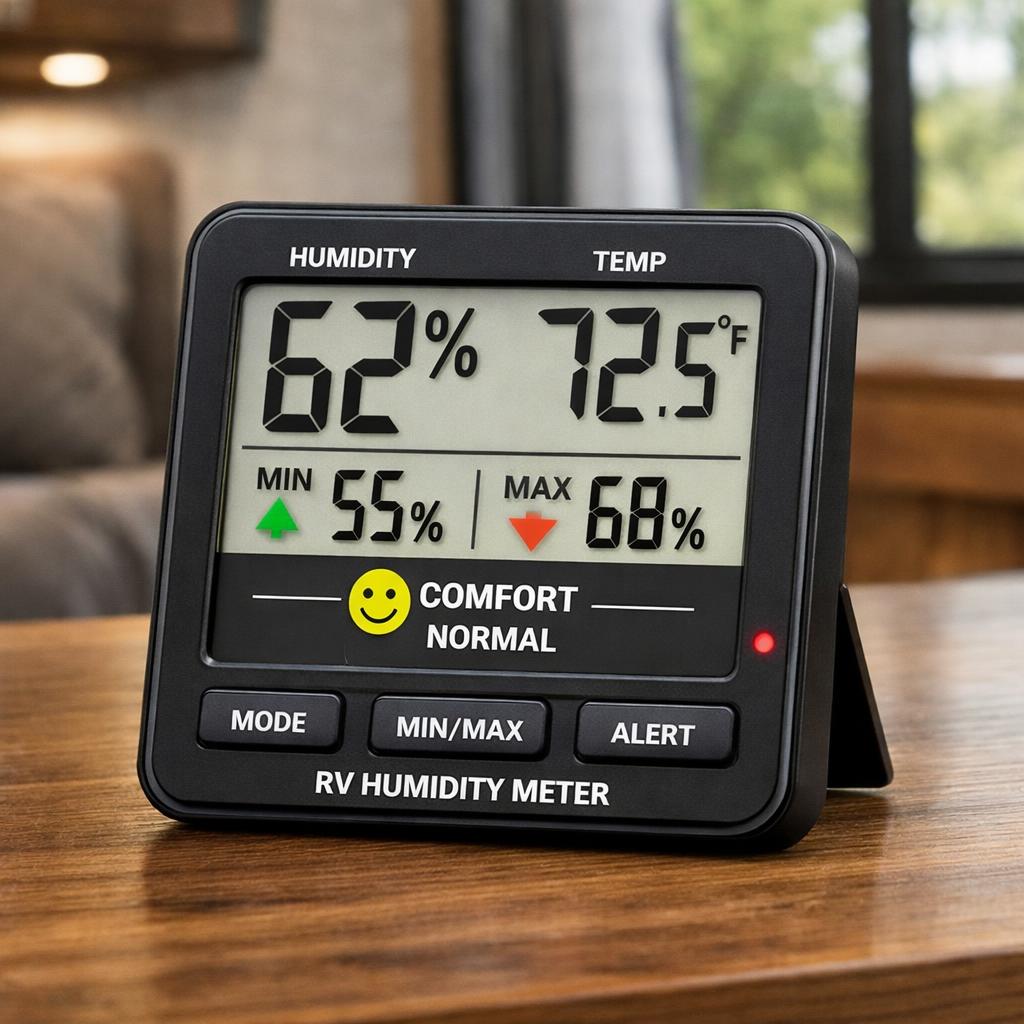
Digital hygrometers with good accuracy provide better insight than basic gauges, especially when placed in problem areas rather than open living spaces.
🎯 Practical Recommendations
Place hygrometers in hidden zones like cabinets, behind appliances, and near exterior walls
Use models with alerts so you know when humidity rises above safe levels
Improve airflow in problem areas using ventilation or small fans
Complete Guide
Standard humidity readings from thermostats or single gauges often miss localized moisture buildup. In RVs, hidden areas behave differently due to limited airflow and temperature differences.
Common high-risk zones include cabinets with plumbing, areas near the kitchen, and ceiling sections above bathrooms. These spaces can retain moisture longer than the rest of the RV.
Using multiple hygrometers helps you understand how humidity behaves across your RV. If one area consistently shows higher readings, it usually indicates poor ventilation or a developing issue.
When humidity rises above safe levels, simple actions like increasing airflow, using a dehumidifier, or identifying leaks can prevent further problems.
Tracking readings over time is especially helpful. Patterns often reveal issues early, allowing you to fix them before visible damage occurs.
Step-by-Step Setup
Step 1
Choose reliable digital hygrometers with good accuracy and easy-to-read displays
Step 2
Place them in key hidden areas such as cabinets, near plumbing, and behind appliances
Step 3
Check readings regularly and compare between locations to identify problem zones
Step 4
Take action if humidity stays high by improving ventilation or addressing moisture sources
💰 Cost Overview
Basic setup: $30-$100 for multiple hygrometers
Advanced setup: $100-$250 for wireless systems with alerts
Long-term value: Early detection helps avoid costly repairs and maintenance issues
🔍 Common Misconceptions
One humidity reading represents the entire RV – hidden areas often behave differently
If there is no smell, there is no problem – moisture can build up long before detection
Only humid climates cause issues – condensation can happen in any environment