💡 Key Recommendation
Test your RV awning spring tension monthly by extending both arms halfway and checking for equal resistance
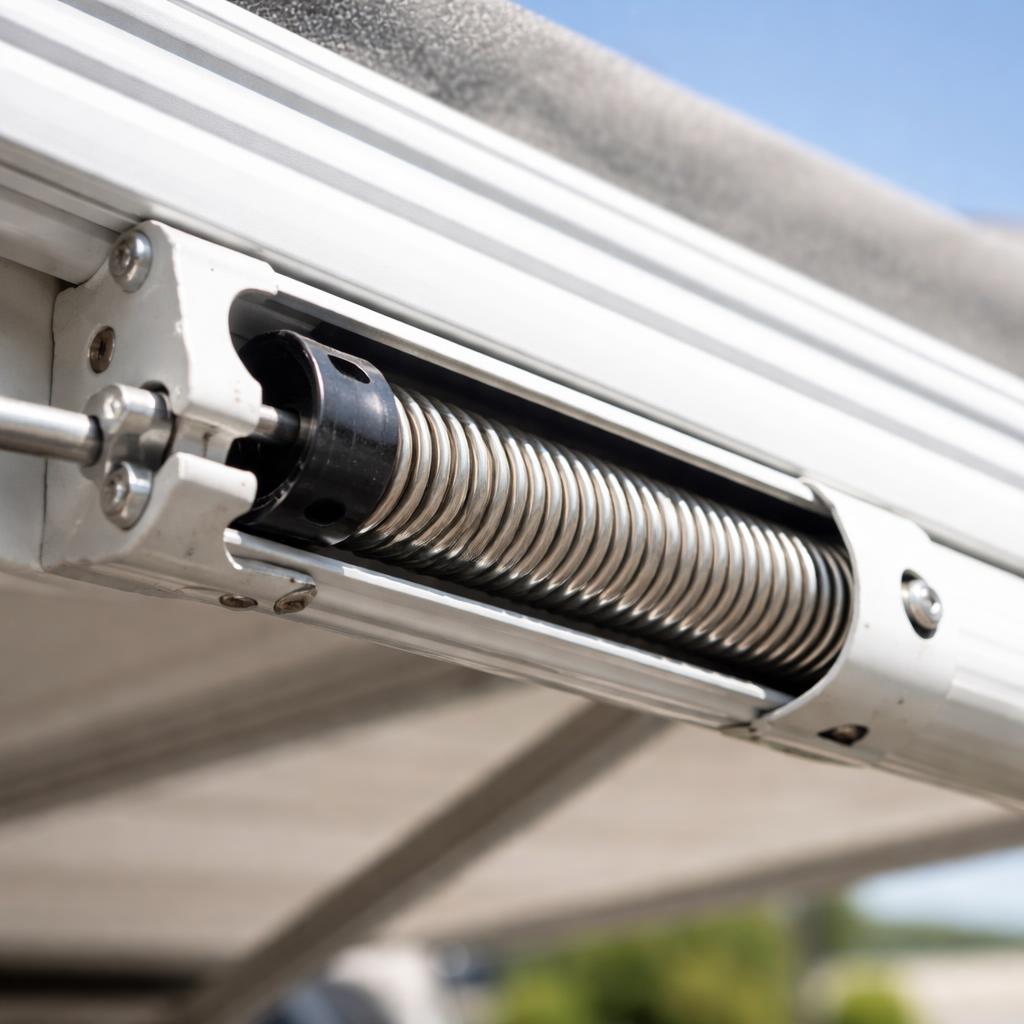
Why RV Awning Spring Tension Matters
RV awning arms rely on internal springs to balance the weight of the awning and keep the structure stable. Over time, these springs gradually lose tension due to normal wear, repeated use, and environmental exposure.
When tension becomes uneven or too weak, the load shifts to other components. This can lead to sudden mechanical failure, especially during extension or retraction. Regular inspection and early adjustment are the most effective ways to avoid unexpected breakdowns and costly repairs.
📋 Industry Standards & Best Practices
Most RV manufacturers recommend inspecting awning spring tension at least once a year or after frequent use. In practical terms, many owners benefit from checking every 50-75 uses or at the start of each camping season.
Professional servicing typically includes measuring spring force and replacing springs when they can no longer maintain proper balance. Since internal wear is not always visible, performance-based checks are more reliable than visual inspection alone.
🎯 Practical Recommendations
Check both arms regularly and compare resistance – uneven movement is one of the earliest warning signs
Keep a simple usage log if you use your awning frequently, especially in windy conditions
Replace springs proactively when performance drops instead of waiting for visible damage
Complete Guide
Each RV awning arm includes a torsion spring designed to support the awning’s weight and keep movement smooth. As the spring weakens, the system loses balance and other components take on additional stress.
The most reliable way to detect issues early is by feel. When extending the awning manually, both arms should move with similar resistance. If one side feels noticeably lighter or inconsistent, tension is likely no longer balanced.
Another common sign is a “loose” feeling during movement or uneven extension speed. These subtle changes often appear before any visible damage.
Basic tension adjustments are possible on many models through accessible bolts at the arm ends. Adjustments should be made gradually, testing after each small change.
Important: If the awning does not maintain consistent tension after adjustment, the springs should be replaced. This type of repair involves stored mechanical energy and is best handled by a professional.
Step-by-Step Inspection (Safe Method)
Step 1
Fully retract the awning and disconnect power if applicable to prevent accidental movement
Step 2
Extend both arms halfway manually and compare resistance between sides
Step 3
Look for uneven movement, weak resistance, or inconsistent motion
Step 4
If issues are detected, consider adjustment or consult a professional for replacement
💰 Cost Overview
DIY inspection: Minimal cost if tools are already available
Professional service: Typically ranges from $150-$300 depending on the system
Spring replacement: Generally more affordable when done proactively compared to full awning repairs
🔍 Common Misconceptions
If it “looks fine” it is safe – internal wear is not always visible
Lubrication fixes weak springs – it only improves movement, not strength
Failure only happens during opening – issues can occur during retraction as well