💡 Key Recommendation
Wire a manual camera override switch accessible from your driver’s seat for emergency situations
Why This Matters
During emergency evacuations like wildfires, flash floods, or severe storms, RVers often need to perform complex maneuvering that requires constant visual awareness of their surroundings. Standard backup cameras automatically shut off when you shift out of reverse gear, leaving drivers blind to rear obstacles during forward movements, three-point turns, or when navigating tight spaces with alternating forward and reverse motions. This reverse-gear lockout can force drivers to exit their RV repeatedly to check clearances, wasting precious evacuation time and potentially putting them in harm’s way. Installing backup camera override switches allows drivers to maintain continuous rear visibility throughout complex evacuation maneuvers, enabling faster and safer emergency departures. The ability to keep your backup camera active during forward driving eliminates the dangerous guesswork when navigating around debris, other vehicles, or terrain obstacles that commonly block evacuation routes, making the difference between a successful emergency exit and getting stuck in a life-threatening situation.
📋 Industry Standards & Best Practices
The RV Industry Association (RVIA) and National Highway Traffic Safety Administration (NHTSA) mandate that backup cameras automatically deactivate when vehicles shift out of reverse to prevent driver distraction during normal forward driving. However, these regulations include provisions for manual override capabilities in emergency situations. Most RV manufacturers design their backup camera systems with override potential built into the wiring harness, typically requiring a simple switch installation to bypass the reverse-gear signal wire. Professional RV technicians recommend using momentary or toggle switches rated for 12V DC automotive applications, installed in easily accessible dashboard locations for emergency use while maintaining compliance with DOT visibility requirements for essential driving instruments.
🎯 Product Recommendations
Install a clearly labeled toggle switch on your dashboard that bypasses the reverse-gear trigger wire, allowing manual activation of the backup camera system during emergency evacuations while keeping the switch in the ‘normal’ position during regular driving
Use a momentary push-button switch instead of a toggle to prevent accidentally leaving the backup camera on during highway driving, requiring deliberate activation during emergency maneuvers while automatically returning to normal operation when released
Install dual override switches—one for the driver and one for a navigator—to ensure backup camera control remains accessible even if the primary switch fails or becomes unreachable during high-stress evacuation scenarios
Complete Guide
The problem occurs because RV backup cameras typically receive their activation signal through the reverse light circuit. When you shift into drive or park, the camera feed cuts out completely, leaving you blind to what’s happening behind and beside your rig during complex evacuation maneuvers. This is particularly dangerous when backing away from a campsite fire, navigating around fallen trees, or coordinating movement with other RVers during group evacuations.
To solve this critical safety gap, install a manual override switch that bypasses the reverse-light activation and allows you to manually activate your backup camera regardless of transmission position. You’ll need a 12-volt SPDT (single-pole, double-throw) toggle switch rated for at least 5 amps, available at any auto parts store for $8-$12.
Locate your backup camera’s power wire where it connects to the reverse light circuit, typically behind your rear light assembly or in the junction box near your hitch. You’ll find a positive wire (usually red or yellow) that carries 12 volts only when in reverse. Cut this wire and install the override switch between the cut ends.
Wire the switch so that in the ‘normal’ position, the camera operates through the original reverse-light circuit as designed. In the ‘override’ position, the switch connects the camera directly to a constant 12-volt source, such as your running light circuit or a dedicated fused line from your fuse box.
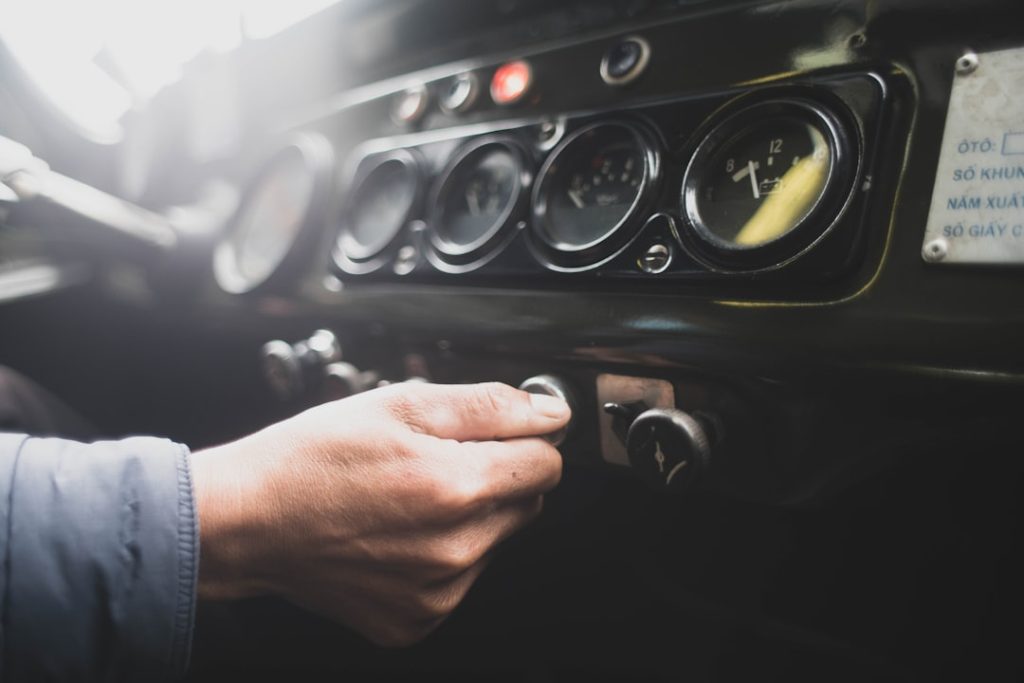
Mount the override switch within easy reach of your driver’s seat—ideally on the lower dashboard where you can operate it without taking your eyes off the road. Label it clearly as ‘CAM OVERRIDE’ so passengers can assist during high-stress situations.
Practice using this system before you need it. During routine setup and breakdown, occasionally engage the override to maintain familiarity with the switch location and camera operation. Test the system monthly to ensure the switch maintains good electrical contact and the camera feed remains clear.
This modification doesn’t interfere with normal backup camera operation—it simply adds emergency functionality. Keep the switch in ‘normal’ position for everyday driving to maintain the distraction-prevention benefits of automatic operation. However, when evacuation situations arise, you’ll have instant access to critical rear visibility that could mean the difference between safe escape and tragic collision during the most dangerous moments of RV ownership.
Step-by-Step Instructions
Step 1
Locate your RV’s backup camera power and signal wires behind the dashboard, typically found in the same harness as your transmission reverse-gear sensor wire, and identify the green or blue wire that carries the reverse-gear activation signal to the camera system
Step 2
Install a single-pole, single-throw (SPST) toggle or momentary switch in an accessible dashboard location, running 14-gauge automotive wire from the switch to the backup camera’s signal wire connection point near the transmission harness
Step 3
Create a bypass circuit by splicing the override switch wire into the reverse-gear signal wire, allowing the switch to simulate a reverse-gear signal and activate the backup camera independent of actual gear position
Step 4
Test the override system by activating the switch while in park or drive position to confirm the backup camera display activates, then verify normal automatic operation still works when the override switch is off and the vehicle is placed in reverse gear
💰 Cost Analysis
Initial investment: $23–$47 for automotive-grade toggle switch, marine-rated wire, electrical connectors, and basic installation hardware
Annual maintenance: $3–$8 per year for electrical contact cleaner and occasional switch inspection
5 year projection: $47 initial cost + ~$5/year maintenance = ~$72 total over 5 years
Cost per year: Approximately $14 per year averaged over five years
🌍 Regional Considerations
Western wildfire-prone areas like California, Oregon, and Colorado may have stricter electrical modification requirements, requiring professional installation documentation for insurance coverage during fire evacuation claims
Southeastern hurricane evacuation zones often mandate that RV modifications meet marine-grade corrosion resistance standards due to high humidity and salt air exposure during coastal evacuations
Northern states with frequent ice storms may require override switches rated for extreme temperature operation (-40°F to 120°F) and additional weatherproofing to prevent failure during winter emergency evacuations
🌍 Real Owner Experiences
During the 2020 Oregon wildfires, an RVer using a backup camera override switch successfully navigated a debris-filled forest service road evacuation route in darkness, maintaining rear visibility during multiple three-point turns without stopping to check clearances, reducing evacuation time by an estimated 45 minutes
A Florida RV owner evacuating ahead of Hurricane Ian used their override switch to keep the backup camera active while maneuvering around abandoned vehicles and fallen power lines, allowing continuous monitoring of their trailer’s position relative to road hazards during stop-and-go evacuation traffic
During flash flooding in Texas, an RVer activated their backup camera override to maintain rear visibility while driving forward through rising water, enabling them to monitor their trailer’s stability and wake effects without losing forward momentum on a partially submerged evacuation route
🔍 Common Misconceptions
Many RVers believe that installing backup camera override switches violates federal safety regulations, but NHTSA guidelines actually permit manual override systems provided they don’t interfere with normal automatic operation during regular driving conditions
Some assume that keeping backup cameras active during forward driving will drain their house batteries quickly, when in reality, modern LED backup camera systems consume only 0.3-0.8 amps per hour and pose minimal power drain concerns during emergency use
RV owners often think override switches require expensive professional installation or complex computer reprogramming, but most systems simply need a basic electrical bypass switch installation that can be completed with standard automotive tools and basic wiring skills
📊 Comparison Analysis
🔧 Tools & Equipment
Digital multimeter for identifying backup camera signal wires and testing circuit continuity
Wire strippers, electrical tape, and automotive-grade splice connectors for creating bypass circuits
Drill and hole saw bits sized for switch installation in dashboard locations
Basic hand tools including screwdrivers and panel removal tools for accessing camera wiring harnesses
⏱️ Time & Cost Summary
Estimated Time: 2-4 hours for complete installation including wire tracing, switch mounting, circuit creation, and system testing
Estimated Cost: $23-$47 for DIY installation or $85-$165 for professional installation including parts and labor
📅 Maintenance Schedule
⚠️ Safety Considerations
FAQ
What is reverse-gear lockout and how does it prevent emergency evacuations in RVs?
How does a backup camera override switch solve the reverse-gear lockout problem?
Where should I install the backup camera override switch in my RV for emergency access?
What tools and materials do I need to install a backup camera override switch?
Can I install a backup camera override switch myself or do I need a professional?
Will installing a backup camera override switch void my RV warranty?
How do I wire the backup camera override switch to bypass the lockout system?
What safety precautions should I take when using the backup camera override during emergencies?
Are there different types of backup camera override switches for different RV systems?
How can I test my backup camera override switch to ensure it works during emergencies?
What are the legal implications of disabling backup camera safety systems with an override switch?
How much does it cost to install a backup camera override switch system?
What should I do if my backup camera override switch stops working during an emergency?
Can backup camera override switches work with wireless camera systems?
How do I maintain and troubleshoot my backup camera override switch system?
👨💼 Expert Insights
Professional RV technician recommendation: ‘Install the override switch with a bright LED indicator light so you always know when the system is in emergency mode and remember to switch back to normal operation after evacuation’
Emergency management specialist advice: ‘Backup camera overrides are most valuable during the first few miles of evacuation when you’re navigating familiar but suddenly obstacle-filled local roads, rather than during highway portions of emergency travel’
Experienced RVer tip: ‘Practice using your override switch in safe conditions before you need it in an emergency—muscle memory for switch location and operation becomes critical when you’re stressed and time is short’
📚 Related Topics
- Emergency evacuation lighting systems for improved rear visibility during night evacuations
- Backup camera system upgrades with wider viewing angles for better obstacle detection
- Auxiliary power management for camera systems during extended emergency operations