How-to guide · Seasonal maintenance
How to Winterize an RV: Step-by-Step (Antifreeze and Blowout Methods)
Protect the water system from freezing before the first cold night: drain, bypass, and fill the lines with RV antifreeze or blow them out with air.
On this page
Water expands as it freezes, and an RV’s plumbing runs through cold, thin-walled spaces. One hard freeze with water left in the lines can split a pipe, crack a faucet body, a pump head or the water heater tank, and those repairs often aren’t found until spring. Winterizing removes the water from the system and protects whatever is left with non-toxic RV antifreeze. With the right supplies, most owners do it themselves in one to two hours.
When to winterize
Winterize before the first night that drops below freezing where the RV is stored, not after. A single night at a few degrees below 32°F is usually enough to damage exposed lines and fittings. If you camp in freezing weather and keep using the water system, that’s a different job: heated tanks, skirting and heat tape, rather than winterizing.
Antifreeze or blowout?
| Antifreeze method | Blowout method | |
|---|---|---|
| How it works | The water pump fills every line with pink RV antifreeze | Compressed air pushes the water out of every line |
| Protection | Very reliable, even in deep cold | Good, but water can stay in low spots and valves |
| Cost | A few gallons of antifreeze each year | Free once you have a compressor and adapter |
| Spring | Flush the antifreeze out | Nothing to flush |
| Best for | Hard winters, first-timers | Mild winters, or as a first step before antifreeze |
Many owners combine them: blow the lines out first, then add antifreeze. Less antifreeze goes in, and nothing is left unprotected.
What you’ll need
- RV and marine antifreeze (propylene glycol, usually rated to -50°F). Most RVs need 2-3 gallons with the water heater bypassed; more with a washer, ice maker or long plumbing runs. Check the label says it is safe for potable water systems. Example: Splash RV & Marine Antifreeze on Amazon.
- A water heater bypass. Many RVs have one built in; if yours doesn’t, a bypass kit can be installed.
- A pump converter (siphon) kit, or a way to draw antifreeze into the pump, so you don’t have to fill the fresh tank with it. Example: Camco Water Pump Converter Winterizing Kit on Amazon.
- Basic tools: a socket for the water heater drain plug or anode rod, and a bucket and towels.
- For the blowout method: an air compressor with a regulator, and a blowout plug that threads into the city water inlet.
Step by step: the antifreeze method
- Dump and flush the holding tanksEmpty the black tank, then the gray, and rinse the black tank if you have a flush system. Close the valves afterward.
- Remove or bypass water filtersTake out inline and under-sink filter cartridges; antifreeze ruins carbon filters.
- Drain the fresh water tankOpen the fresh tank drain and let it empty completely.
- Turn off and drain the water heaterSwitch off both the electric element and the gas, and let the water cool. Open the pressure relief valve, then remove the drain plug (Atwood) or the anode rod (Suburban) and let it empty. Inspect the anode rod while it’s out.
- Open the low-point drainsOpen the hot and cold low-point drains and every faucet, hot and cold, so the lines empty. Then close the drains and faucets again.
- Bypass the water heaterSet the bypass valves so antifreeze skips the heater. Otherwise it fills a 6-10 gallon tank with antifreeze for nothing.
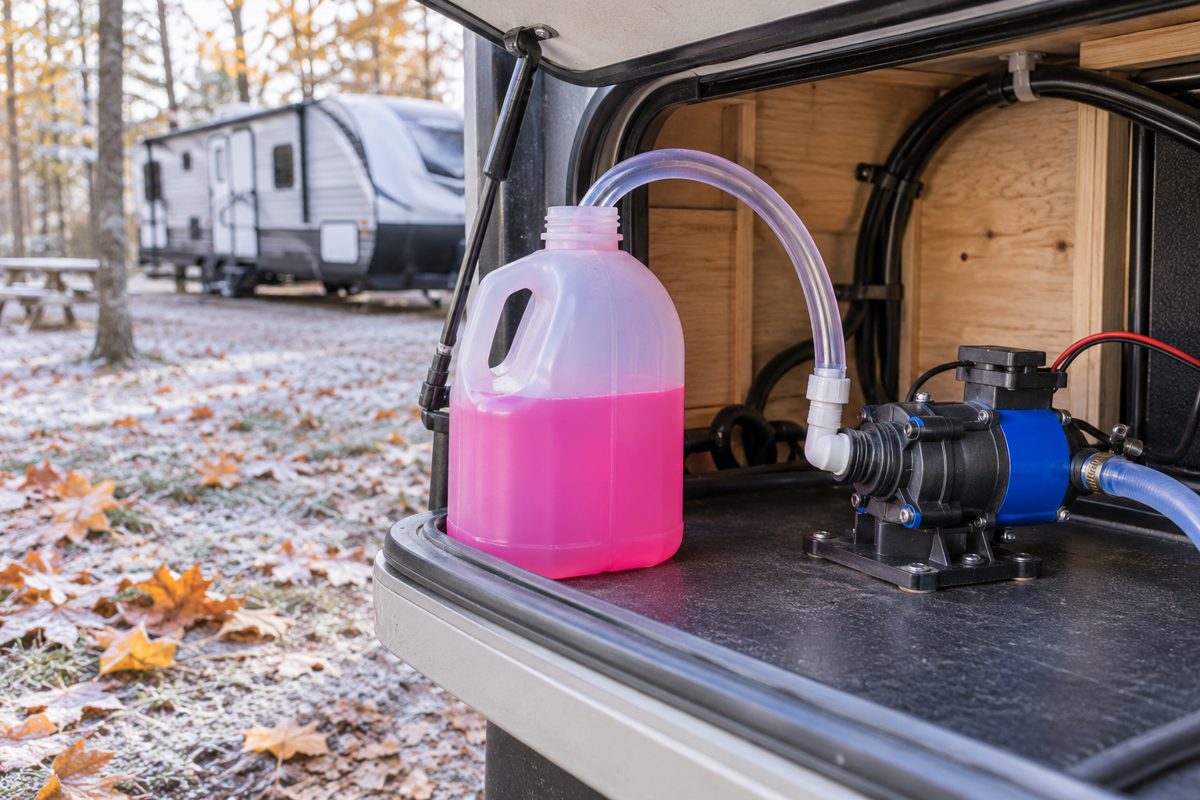
- Connect the antifreeze to the pumpUse the pump’s winterizing valve or a converter kit with the tube in the antifreeze jug.
- Pump antifreeze to every outletTurn on the pump. Starting with the faucet nearest the pump, open the cold side until pink antifreeze flows steadily, then the hot side, then close it. Work outward to the farthest faucet, including the shower and outdoor shower.
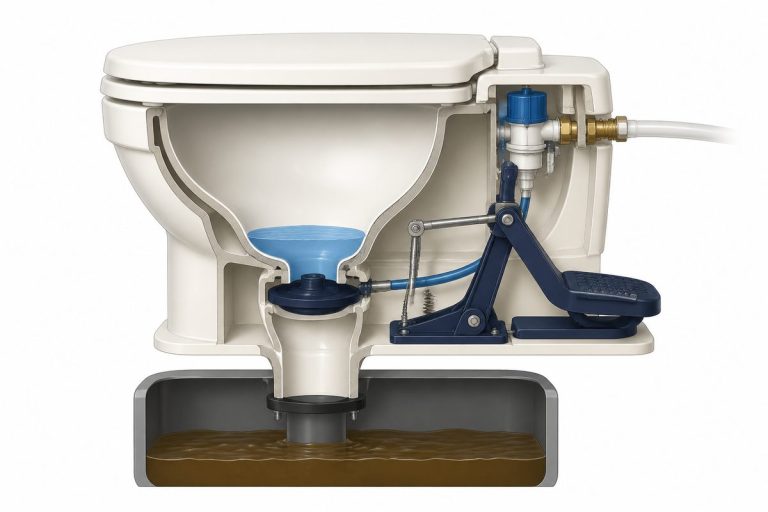
- Toilet and appliancesHold the toilet’s flush pedal until antifreeze appears. Follow the manual for the ice maker, washer or dishwasher, if you have them.
- Protect the drainsPour about a cup of antifreeze into each sink and shower drain to protect the P-traps, and a little into the toilet so it reaches the black tank valve seal.
- FinishTurn the pump off, open a faucet briefly to relieve pressure, and make sure the city water inlet is drained. Leave a note on the faucet that the system is winterized.
The blowout method
Follow steps 1-6 above, then:
- Thread the blowout plug into the city water inletConnect the compressor through the plug.
- Keep the pressure lowSet the regulator to around 30-40 PSI, or the limit your manual gives. Higher pressure can damage fittings and seals.
- Open each outlet one at a timeHot and cold side, until only air comes out: every faucet, the shower, the outdoor shower and the toilet valve. Go through them twice.
- Open the low-point drains againTo clear any water that collected there.
- Add antifreeze to the drainsThe P-traps still hold water, so pour antifreeze into each drain and the toilet.
The rest of the rig
- Batteries: fully charge them. Either keep them on a maintainer or disconnect them, and follow the manufacturer’s storage advice for lithium batteries. A discharged lead-acid battery can freeze.
- Propane: turn off the tank valves.
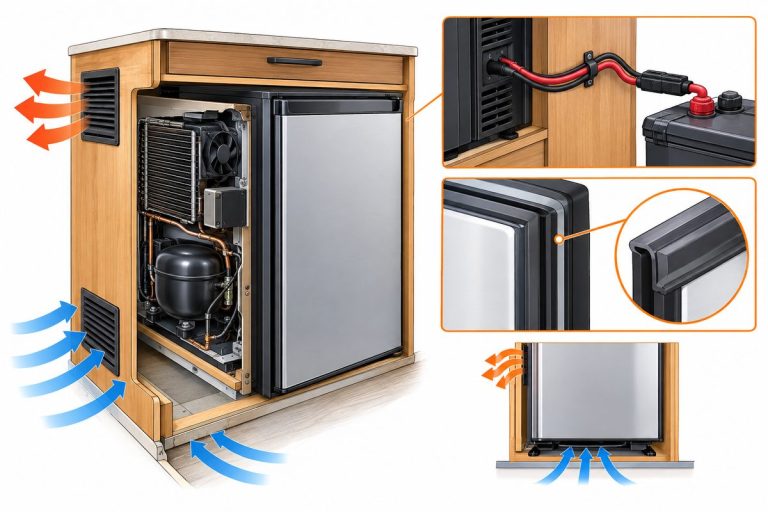
- Refrigerator: empty it, clean it and prop the doors open to prevent mold.
- Pests: remove all food, and check for gaps where mice can get in.
- Moisture: crack a vent or use moisture absorbers to reduce condensation and mildew.
- Tires and exterior: set tires to the recommended pressure, and use a breathable cover or covered storage if you can.
Common mistakes
| Mistake | What happens |
|---|---|
| Forgetting to bypass the water heater | 6-10 gallons of antifreeze wasted inside the tank |
| Skipping the outdoor shower, ice maker or washer | Water left in lines that crack over winter |
| No antifreeze in the drains | Frozen P-traps and sewer smells in spring |
| Too much air pressure on a blowout | Damaged fittings, valves or faucet cartridges |
| Leaving filter cartridges in | Filters ruined by antifreeze |
| Waiting for the first hard freeze | Damage before the job is done |
De-winterizing in spring
- Put the water heater back in serviceReinstall the drain plug or anode rod, and set the bypass valves back to normal.
- Flush the antifreeze outFill the fresh tank or connect city water, and run every faucet, hot and cold, until the water runs clear with no pink.
- Sanitize the fresh water systemA common method is about 1/4 cup of household bleach per 15 gallons of tank capacity, run through every faucet, left for several hours, then flushed until there’s no bleach smell.
- Check for leaksWith the pump pressurized, look under sinks, at the pump and at the water heater fittings before your first trip.
- Reinstall water filtersThen fill the water heater before switching it on: never run it empty.
If the pump won’t prime after winter, see RV water pump won’t prime. For routine care through the season, see keeping your RV water system in perfect condition.
Frequently asked questions
When should I winterize my RV?
Before the first night that drops below freezing where the RV is stored. One night a few degrees below 32°F can be enough to crack exposed lines and fittings.
How much RV antifreeze do I need?
Usually 2-3 gallons with the water heater bypassed. RVs with a washer, ice maker, dishwasher or long plumbing runs may need more.
Can I use regular car antifreeze in my RV?
No. Automotive antifreeze (ethylene glycol) is toxic. Use only RV and marine antifreeze made for potable water systems, typically propylene glycol.
Is the blowout method enough to winterize an RV?
In mild winters it often is, but water can remain in valves and low spots. For long, hard freezes, many owners blow out the lines and then add antifreeze, and they always put antifreeze in the drains.
Do I need to drain the water heater when winterizing?
Yes. Turn it off, let it cool, open the pressure relief valve and remove the drain plug or anode rod. Then bypass it so antifreeze doesn't fill the tank.
How do I de-winterize an RV?
Put the water heater back in service, flush the antifreeze out of every faucet until the water runs clear, sanitize the fresh water system, check for leaks and reinstall filters.
Safety and disclaimer. This guide is general information, not professional advice. Work on propane, gas and electrical systems carries real risk; when in doubt, stop and call a qualified RV technician, and always follow your unit's service manual. If a carbon monoxide or propane alarm goes off, get everyone out of the RV first. How we research. As an Amazon Associate, RVOutdoorLife earns from qualifying purchases; some links in this guide are affiliate links, at no extra cost to you.